Sharpening kitchen knives with a sharpener or a whetstone, or using both, is essential for knives of any caliber in maintaining their sharpness and extending their lifespan.
Here's a step-by-step guide on how to do it.
What You’ll Needed:
1. Knife sharpener (e.g., pull-through sharpener or electric sharpener
2. Honing Rod (optional)
3. Whetstone (double-sided with coarse and fine grit – or separate coarse and fine grit stones)
4. Water (for lubricating the whetstone)
But first – know your stone!
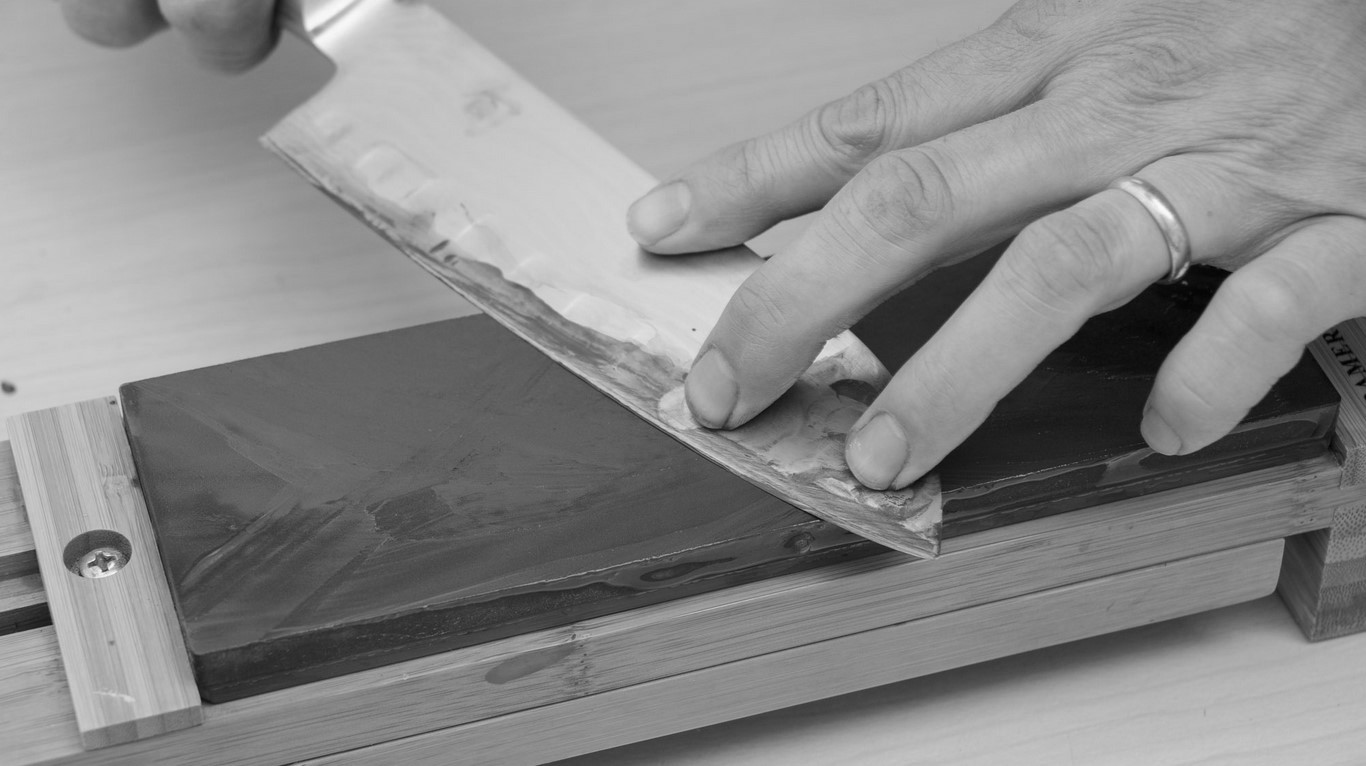
Whetstones, also known as sharpening stones or water stones, are of course used to sharpen the edges of knives and other cutting tools. They come in various types and grits, each serving a specific purpose in the knife sharpening process. USA, Belgium, Crete, Japan are 4 of the most well known countries that produce the highest quality stones around.
1. Natural Whetstones:
Natural whetstones are made from quarried sedimentary rocks that contain abrasive minerals like novaculite, slate, or other quartz based rocks.Some of the different types are:
Belgian Coticule is a yellow-gray volcanic ash with garnet crystals and clay. The slightly coarser and more plentiful Belgian Blue stone is found naturally with the yellow coticule in adjacent strata; hence two-sided whetstones are available with a naturally occurring seam between the yellow and blue layers. While still being quarried from The Ardennes region, their whetstones have been legendary since Roman times.
Another area of production since antiquity is the island of Crete. Eastern Crete which produces a stone known as Turkish Stone is mined in the Elounda Mountains. It gained its name from being sold in the east throughout the Levant.
Novaculite from Arkansas State, USA, also known as Arkansas Stone is another well-known natural whetstone. Novaculite is a hard, dense rock mostly composed of silica.
Japanese stones come in grits from 100 to a micro fine 30,000. The quarries in Japan contain rocks with a unique composition of fine silicate grains embedded in a clay-like material which produces softer stones. After centuries of mining, many of Japan’s quarries were exhausted and that scarcity led to the development of synthetic water stones.
Both types from Japan are typically softer in composition compared to other regions. This softness results in some of the stone’s particles to come off to expose a fresh new surface area to better sharpen the blade. The particles that come off form a paste or “slurry” that also helps sharpen and polish the knife resulting in a superior finish. Natural Japanese stones are renowned for their unique sharpening properties and ability to create extremely sharp edges.
However, they don’t come cheap. Expect to pay upwards of $600 from the top brands. You can even find Japanese sellers list pre-owned stones on eBay for around $100 that still have plenty of life in them.
Japanese stones are an art form in their own right. Here’s a comprehensive list of their whetstone terms
2. Oil Stones:
Oil stones are synthetic sharpening stones that use oil as a lubricant during the sharpening process. These stones are typically made from aluminum oxide (corundum) or silicon carbide (carborundum) abrasive particles. They are known for their durability and ability to cut steel quickly. However, they may not provide the same level of refinement as some other stones. It's essential to use a specific type of oil for lubrication.
3. Water Stones:
Water stones are synthetic stones that use water as a lubricant during sharpening. They are softer and require periodic flattening, but they are excellent for achieving a razor-sharp edge. Water stones are available in various grits, ranging from coarse to ultra-fine, allowing users to progress through different levels of sharpening for the best results.
4. Diamond Stones:
Diamond stones are made with a metal plate coated in industrial-grade diamond particles. They are incredibly abrasive and capable of sharpening even the hardest steels quickly. Diamond stones don't require any lubrication during use and are excellent for heavy-duty sharpening and removing chips or nicks from the blade.
5. Ceramic Stones:
Ceramic stones are synthetic stones made from aluminum oxide or silicon carbide combined with ceramic binders. They are popular for their durability and ability to retain their flat surface over time. Ceramic stones can offer a balance between the fast cutting of oil stones and the refined edges of water stones.
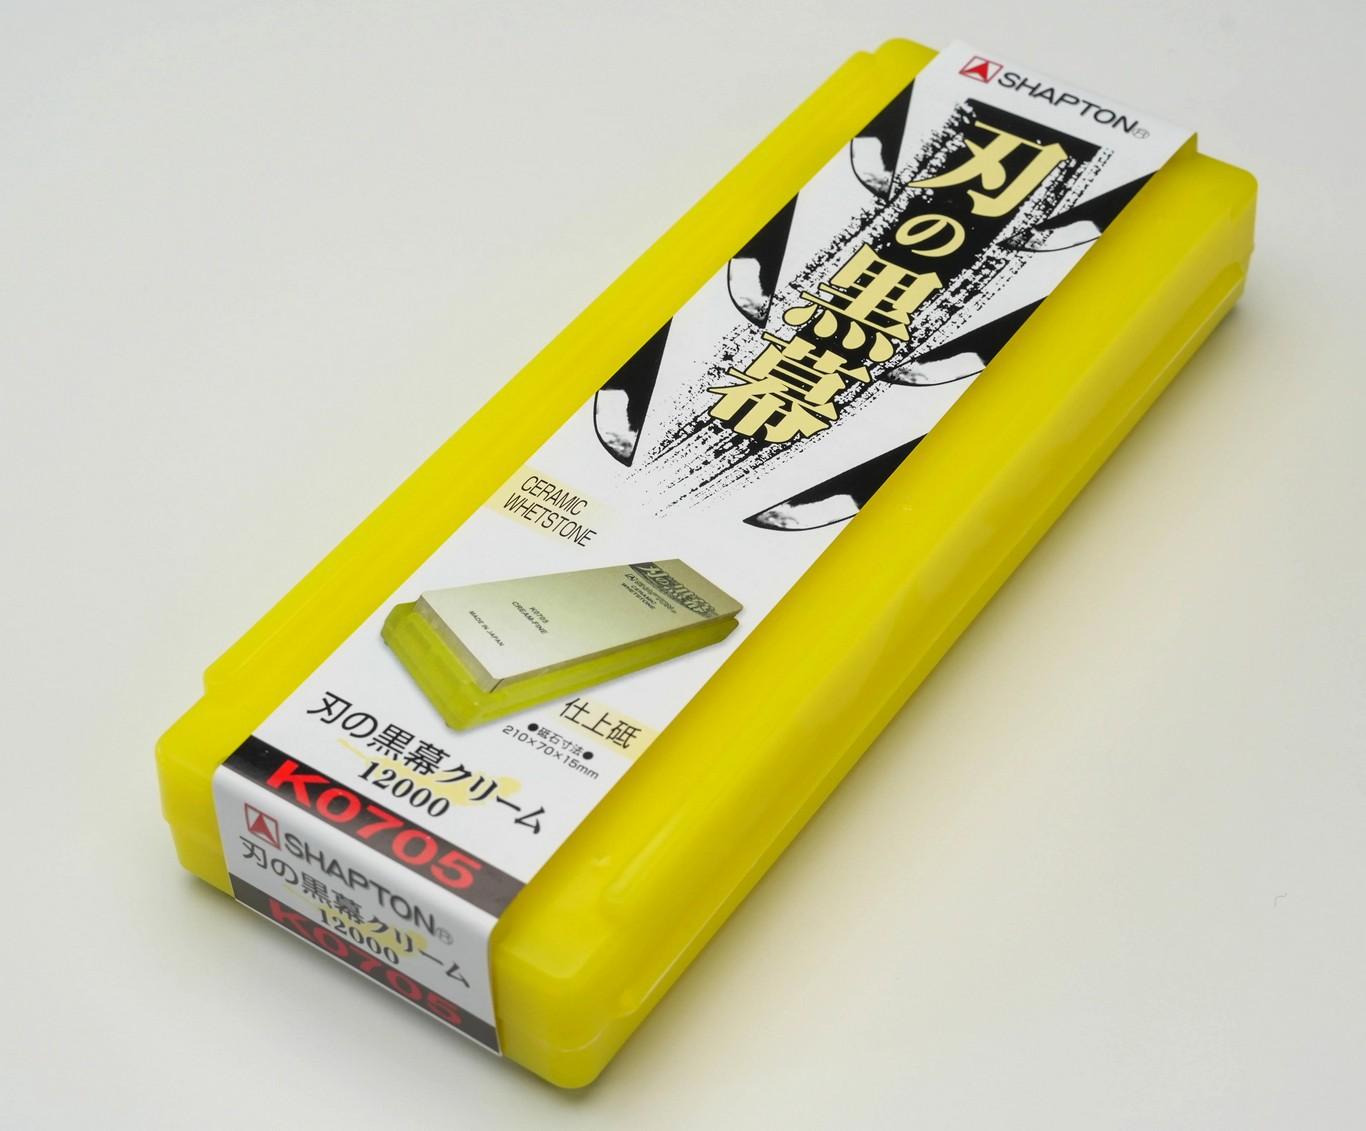 SHAPTON Ha No Kuromaku Ceramic Whetstone Set
Both natural whetstones and synthetics come in various grits, which refer to the coarseness or fineness of the stone's abrasive particles. The grit number indicates the size of the abrasive particles, with lower numbers being coarser and higher numbers being finer.
The common grit categories include:
• Coarse (200-800 grit):
For repairing damaged or dull edges.• Medium (800-2000 grit):
For regular maintenance and sharpening.• Fine (2000-5000 grit):
For honing and polishing the edge.• Extra Fine (5000+ grit):
For achieving a highly polished and razor-sharp edge.
Choosing the right whetstone depends on the condition of your knife and your sharpening goals. Beginners may find a combination stone (double-sided with coarse and fine grits) a good starting point, as it allows versatility in the sharpening process. Regular maintenance and proper dry storage will help prolong the life and effectiveness of whetstones.
And to use with, or without a whetstone...
Electric and pull-through knife sharpeners are both options for sharpening your kitchen knives. Both work differently and have distinct advantages and disadvantages. Here's an explanation of each:
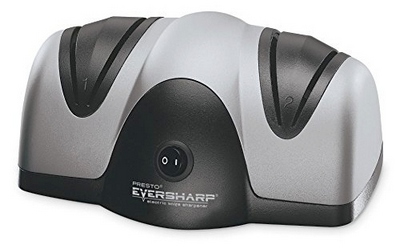
Presto EverSharp 2-Stage Electric Knife Sharpener Available here
Electric Knife Sharpeners:
Electric sharpeners are motorized devices designed to automate the sharpening process. They're equipped with grinding wheels or abrasive belts and the electric motor rotates these wheels or belts to sharpen the knife's edge.Here are the key features and characteristics of electric sharpeners:
• Ease of Use: Electric sharpeners are generally very easy to use, making them popular in commercial and home kitchens who need a quick and straightforward way to sharpen knives.
• Consistency: Since the sharpening process is automated, electric sharpeners offer consistent results. The user doesn't need to worry about maintaining a specific angle while sharpening.
• Speed: Electric sharpeners work quickly, and the sharpening process can be completed within a minute or two.
• Versatility: Many electric sharpeners have multiple slots with different levels of abrasiveness, allowing users to start with a coarser grit and progress to a finer one for a polished edge.
• Limitations: Electric sharpeners may not be suitable for certain types of knives, especially those with thin or delicate edges. They may remove more metal than necessary, potentially shortening the knife's lifespan.
• Risk of Overheating: Prolonged use of electric sharpeners can generate heat which may damage the knife's tempering, leading to a less durable edge.
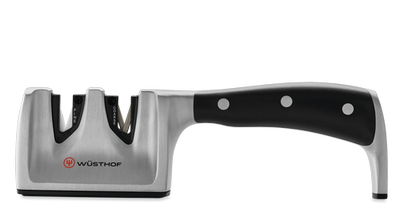
Wüsthof Pull-Through 2-Stage Knife Sharpener Available here
Pull-Through Knife Sharpeners:
Pull-through knife sharpeners are manual sharpening devices with slots or notches that hold the knife at a fixed angle while the user pulls the blade through. Inside these slots, there are abrasive materials such as ceramic rods or tungsten carbide blades that remove metal from the edge.Here are the key features and characteristics of pull-through knife sharpeners:
• Simplicity: Pull-through sharpeners are straightforward to use, making them accessible to beginners and casual cooks.
• Angle Guides: The slots in pull-through sharpeners typically have built-in angle guides, ensuring that the knife is sharpened at a consistent angle for optimal results.
• Quick Sharpening: Like electric sharpeners, pull-through sharpeners can quickly restore the edge of a dull knife.
• Affordability: Pull-through sharpeners are more affordable than electric sharpeners, making them an attractive option for budget-conscious users.
• Limitations: Similar to electric sharpeners, pull-through sharpeners may remove more metal than necessary which can shorten the knife's lifespan if used excessively.
• Not Ideal for All Knives: Pull-through sharpeners may not be suitable for knives with asymmetric edges or very thin blades. This can cause uneven sharpening or excessive steel removal.

WÜSTHOF 12" Honing Steel Available here
What is a honing rod used for?
A honing rod, also known as a honing steel or sharpening steel is a long cylindrical rod used to maintain the sharpness of a knife's edge between sharpenings. Contrary to popular belief, a honing rod does not actually sharpen a knife in the traditional sense. Instead, its main function is to realign the edge of the knife, keeping it straight and centered. As a knife is used, its edge can be slightly bent or rolled to one side due to the impact of cutting and chopping. This can cause the knife to lose its cutting efficiency and feel dull, even if it is still relatively sharp. The honing rod addresses this issue by gently straightening the edge back into alignment which helps restore its cutting performance.Here's how a honing rod works:
1. Realignment of the Edge:
When you use a knife, the fine edge can get slightly bent or misaligned. The honing rod corrects this misalignment by gently pushing the edge back into a straight and centered position.2. Maintaining the Sharpness:
By keeping the edge aligned, the honing rod ensures that both sides of the edge meet at an equal angle. This maintains the sharpness and improves the knife's cutting ability.3. Temporary Fix:
The realignment achieved through honing is temporary and is not a replacement for actual sharpening, which involves removing metal to create a new edge. Honing should be done regularly to extend the time between sharpenings and keep the knife performing at its best.
It's essential to note that honing rods work best on knives with harder steel blades. Knives with softer steel may require more frequent sharpening. Additionally, honing rods are generally used with Western-style knives (e.g., chef's knives) rather than knives with asymmetric edges like traditional Japanese knives.
Now, The Sharpening Guide
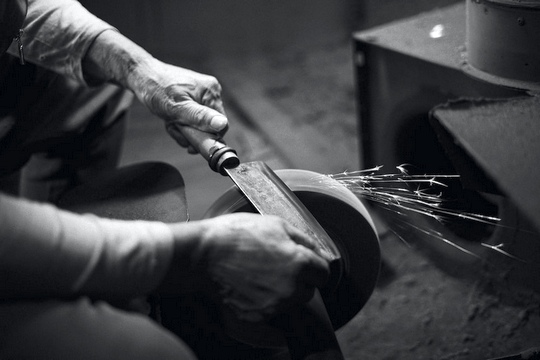
Step 1:
Assess the Knife's blade condition first and check for damage.If it’s just dull but not damaged, a whetstone alone should suffice. However, if the knife has nicks or chips, use the sharpener first to realign the edge and then proceed to the whetstone.
Step 2:
Using the Knife Sharpener1. Place the heel of the knife blade into the slot closest to the handle.
2. Pull the knife through the slot, maintaining light pressure.
3. Repeat the process 3-5 times each side for double beveled knives, using the slot with the finer grit last.
4. Avoid excessive pressure, as it can remove too much steel and damage the knife edge.
Step 3:
Preparing the Whetstone1. Soak the whetstone in water for about 10-15 minutes before use (or manufacturer’s recommendation). This allows it to absorb enough moisture to prevent excess friction and provide better sharpening. For most brands of whetstones it’s advised to not soak the fine grit finishing stones (3000 and above) as this can cause cracking. If using a double side stone, only soak the coarse grit side. (As each natural water stone is different, the total soaking time can be anywhere from 10 minutes to 24 hours — in general it’s as long it takes for the stone to stop releasing air bubbles.)
Step 4:
Sharpening with the Whetstone1. Place the whetstone on a stable, flat surface with the coarse grit facing up.
2. Hold the knife at a 15-20 degree angle to the stone. You can use an angle guide or estimate the angle visually.
3. Start with the heel of the knife and using light pressure, slide the blade across the whetstone in a smooth, sweeping motion, moving from the heel to the tip. Ensure the entire edge makes contact with the stone.
4. For double sided blades, repeat this process on both sides of the knife, maintaining the same number of strokes on each side to keep the edge symmetrical.
5. Rinse the stone to remove the slurry and dampen the fine grit side, or your separate fine stone.
6. With fine grit side up, repeat the same sharpening process for further refinement. The fine grit will create a smoother and more polished edge.
Step 5:
Honing the Knife (Optional)After sharpening, you can use the honing rod to hone the knife and further align the edge:
1. Hold the honing rod vertically with the tip resting on a stable surface.
2. Hold the knife at a 15-20 degree angle to the rod and place the heel of the blade against the top of the rod.
3. With light pressure, slide the knife down the rod, maintaining the angle throughout.
4. Repeat the process 5-10 times on each side of the knife.
Step 6:
Test the SharpnessCarefully test the sharpness of the knife by gently slicing through a piece of paper or a tomato. If the knife glides effortlessly without tearing, you've achieved a razor sharp edge!
Step 7:
Cleaning and Maintenance After sharpeningclean the knife thoroughly to remove any metal particles. Properly store the knife in a knife block or magnetic strip to protect the sharp edge. Remember, practice and patience are essential when learning how to sharpen knives. With time and experience, you'll become more proficient and be able to keep your kitchen knives in tiptop condition.
